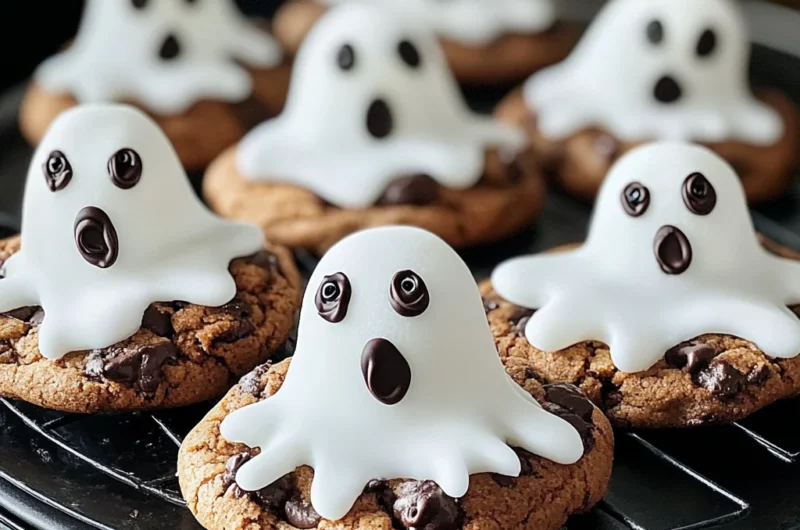
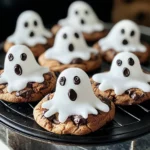
Ghost cookies are the perfect Halloween treat that combines fun and flavor in a delightful package. These spooky snacks are not only easy to make but also add a festive touch to any Halloween gathering. With just a few simple ingredients, you can transform ordinary cookies into whimsical ghostly figures that will delight kids and adults alike. Whether for a party or a creative afternoon activity, ghost cookies are sure to impress!
Why You’ll Love This Recipe
- Quick and Easy: This ghost cookies recipe is simple and requires minimal preparation time, making it perfect for last-minute treats.
- Fun for All Ages: Kids will love helping to decorate these spooky sweets, turning baking into an enjoyable family activity.
- Customizable: Feel free to get creative! Use different icing colors or cookie types to personalize your ghost cookies.
- Gorgeous Presentation: These cookies look festive and fun, making them ideal for Halloween parties or school events.
- Delicious Flavor: The chocolate chunk cookies provide a rich base, complemented perfectly by sweet icing and marshmallows.
Tools and Preparation
Before diving into our ghost cookies recipe, gather your tools. Having everything ready makes the process smooth and fun!
Essential Tools and Equipment
- Mixing bowl
- Baking sheet
- Parchment paper
- Knife or scissors for cutting marshmallows
Importance of Each Tool
- Mixing bowl: A sturdy bowl is essential for combining icing sugar with water or other ingredients smoothly.
- Baking sheet: This provides the surface you need to arrange your ghost cookies without sticking.
- Parchment paper: It prevents the cookies from sticking to the baking sheet, ensuring easy cleanup.
- Knife or scissors: Perfect for cutting marshmallows into shapes needed for decorating your ghost cookies.
Ingredients
To create these delightful ghost cookies, you’ll need the following ingredients:
For the Ghost Cookies
- 175g icing sugar
- 1 x 200g pack chocolate chunk cookies
- 9 marshmallows (regular size)
- black writing icing
How to Make Ghost Cookies
Step 1: Prepare Your Workspace
Start by laying out all your tools and ingredients. Preheat your oven if you’re planning to bake additional items alongside the ghost cookies.
Step 2: Decorate the Cookies
- Place the chocolate chunk cookies on a clean baking sheet lined with parchment paper.
- In a mixing bowl, combine 175g icing sugar with enough water to create a thick but spreadable icing.
- Using a knife or spoon, spread the icing generously over each cookie to create a ghostly appearance.
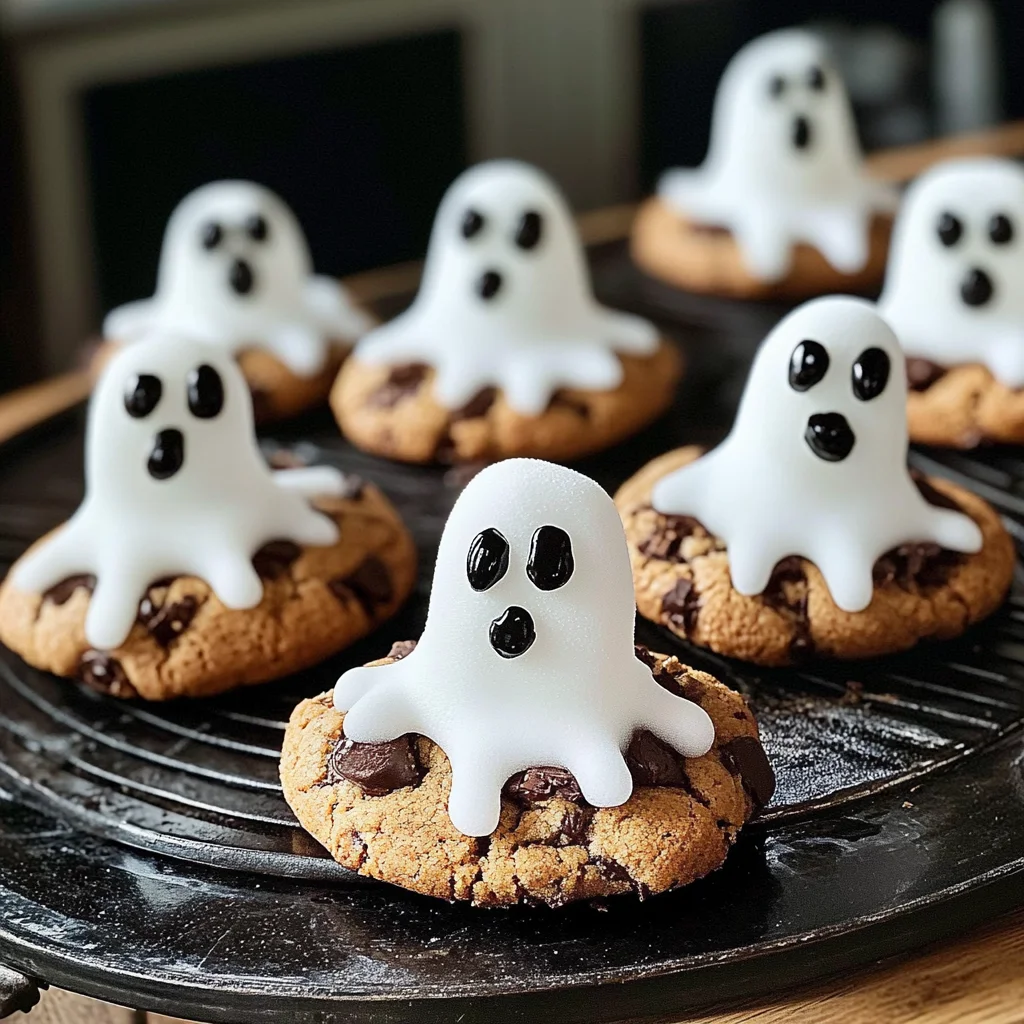
Step 3: Add Marshmallow Ghosts
- Cut each of the 9 marshmallows in half diagonally to create ghost shapes.
- Gently press one half onto each iced cookie as the ghost’s head.
Step 4: Finish with Details
- Use black writing icing to add eyes and mouth details on the marshmallow ghosts.
- Allow the decorated cookies to set for about 10 minutes before serving.
Now you have tasty and cute ghost cookies ready to enjoy at your next Halloween celebration!
How to Serve Ghost cookies
Ghost cookies are a fun and festive treat perfect for Halloween gatherings. Whether youre hosting a spooky party or simply enjoying them at home, here are some serving suggestions to make your ghostly treats even more delightful.
Spooky Platter
- Arrange the ghost cookies on a large platter surrounded by Halloween-themed decorations like mini pumpkins and fake spider webs for an eye-catching display.
Individual Treat Bags
- Package each ghost cookie in clear cellophane bags tied with orange ribbons. This makes for a great party favor that kids will love!
Milk and Cookie Bar
- Set up a milk and cookie bar with different types of milklike chocolate, almond, and regularso guests can choose their favorite pairing with the ghost cookies.
Halloween Dessert Table
- Include ghost cookies as part of a larger dessert table featuring other Halloween-themed treats like pumpkin cupcakes and caramel apples for a sweet spread.
Movie Night Snack
- Serve ghost cookies alongside popcorn and candy corn during a Halloween movie marathon. This creates the perfect cozy atmosphere for watching spooky films.
How to Perfect Ghost cookies
To make your ghost cookies truly stand out, follow these simple tips for perfection.
-
Use fresh ingredients: Ensure all ingredients, especially marshmallows, are fresh for the best flavor and texture.
-
Adjust icing consistency: If your icing is too thick, add a tiny bit of water to achieve the desired smoothness for decorating.
-
Store properly: Keep the decorated ghost cookies in an airtight container to maintain their freshness and prevent them from becoming stale.
-
Experiment with designs: Get creative with the black writing icing; try different facial expressions on your ghosts to make each cookie unique.
Best Side Dishes for Ghost cookies
Pairing side dishes with your ghost cookies can elevate your Halloween treat experience. Here are some delicious options:
-
Pumpkin Soup: A warm, creamy pumpkin soup complements the sweetness of ghost cookies perfectly.
-
Cheese Platter: An assortment of cheeses pairs well with sweets, offering varied flavors alongside your spooky treats.
-
Caramel Apples: These classic fall treats provide a crunchy contrast to the soft texture of the ghost cookies.
-
Halloween Fruit Salad: Use seasonal fruits like oranges and grapes cut into spooky shapes to add color and freshness.
-
Spiced Apple Cider: A warm beverage that enhances the autumnal theme while balancing sweetness with spice.
-
Savory Mini Quiches: These bite-sized snacks offer a savory option that complements sweet desserts nicely.
-
Chocolate-Dipped Pretzels: The salty crunch of pretzels dipped in chocolate provides an enjoyable contrast to the soft ghost cookies.
-
Witchs Brew Punch: A fun, colorful punch adds festivity and refreshment alongside your sweet treats.
Common Mistakes to Avoid
Making ghost cookies can be fun, but there are some common mistakes that can ruin your spooky treats. Heres how to avoid them.
- Using stale cookies: Always check the expiration date on your cookie pack. Fresh cookies will hold decorations better and taste delicious.
- Overheating icing: If youre warming your icing, do it gently. Overheating can cause it to become too runny, making it hard to decorate.
- Neglecting decoration details: Skimping on the details can make your ghost cookies look less spooky. Take time with the black icing for eyes and mouth for the best effect.
- Skipping cooling time: Let your cookies cool completely before decorating. This prevents the icing from melting and losing its shape.
- Ignoring ingredient measurements: Be precise with your icing sugar measurements. Too much or too little can affect the consistency of your decorations.
Storage & Reheating Instructions
Refrigerator Storage
- Store ghost cookies in an airtight container.
- They will stay fresh for up to 5 days in the refrigerator.
Freezing Ghost cookies
- Place ghost cookies in a single layer in a freezer-safe container.
- They can be frozen for up to 2 months. Make sure to separate layers with parchment paper.
Reheating Ghost cookies
- Oven: Preheat to 350F (175C). Place cookies on a baking sheet for about 5 minutes until warm.
- Microwave: Heat one cookie at a time on medium power for about 10-15 seconds.
- Stovetop: Use a pan over low heat, cover with a lid, and warm for about 3 minutes.
Frequently Asked Questions
Here are some common questions about making ghost cookies.
Can I use other types of cookies for ghost cookies?
Yes! You can use any type of cookie you like, but chocolate chunk cookies work best for a rich flavor.
How do I keep my ghost cookies from getting sticky?
Store them properly in an airtight container to maintain their texture and avoid humidity.
What can I use instead of black writing icing?
You can use melted dark chocolate or edible markers as alternatives if you don’t have black icing available.
How long do ghost cookies last?
When stored correctly, ghost cookies will last about 5 days in the refrigerator and up to 2 months in the freezer.
Final Thoughts
Ghost cookies are not only adorable but also versatile! You can customize them with different colors or shapes to fit any Halloween theme. These spooky treats are sure to delight family and friends, so give this recipe a try!
Ghost Cookies
Get ready to spook up your Halloween with these delightful ghost cookies! Perfectly combining fun and flavor, these easy-to-make treats will be the star of any gathering. With just a few simple ingredients, you can transform ordinary chocolate chunk cookies into whimsical ghostly figures that will enchant children and adults alike. Whether you’re hosting a Halloween party or enjoying a creative baking session with the kids, these ghost cookies are an impressive yet simple dessert that adds a festive touch to the occasion.
- Prep Time: 15 minutes
- Cook Time: 0 minutes
- Total Time: 15 minutes
- Yield: Approximately 10 servings 1x
- Category: Dessert
- Method: Baking
- Cuisine: American
Ingredients
- 175g icing sugar
- 200g chocolate chunk cookies
- 9 regular marshmallows
- Black writing icing
Instructions
- Prepare your workspace by laying out all tools and ingredients.
- Place chocolate chunk cookies on a parchment-lined baking sheet.
- In a mixing bowl, mix 175g of icing sugar with enough water to achieve a thick yet spreadable consistency.
- Spread the icing generously over each cookie to create a 'ghostly' look.
- Cut marshmallows in half diagonally and press one half onto each iced cookie as the ghost's head.
- Use black writing icing to add eyes and mouth details to the marshmallow ghosts.
- Allow the decorated cookies to set for about 10 minutes before serving.
Nutrition
- Serving Size: 1 cookie (40g)
- Calories: 160
- Sugar: 14g
- Sodium: 90mg
- Fat: 6g
- Saturated Fat: 3g
- Unsaturated Fat: 2g
- Trans Fat: 0g
- Carbohydrates: 24g
- Fiber: 0g
- Protein: 2g
- Cholesterol: 5mg