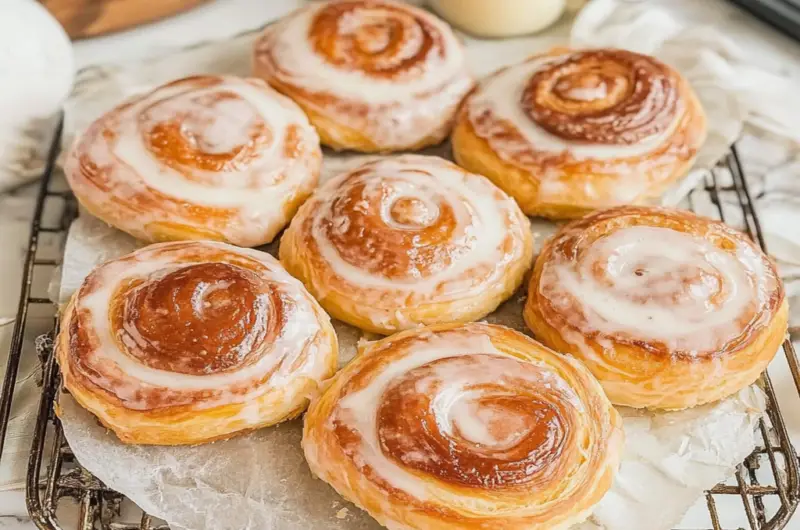
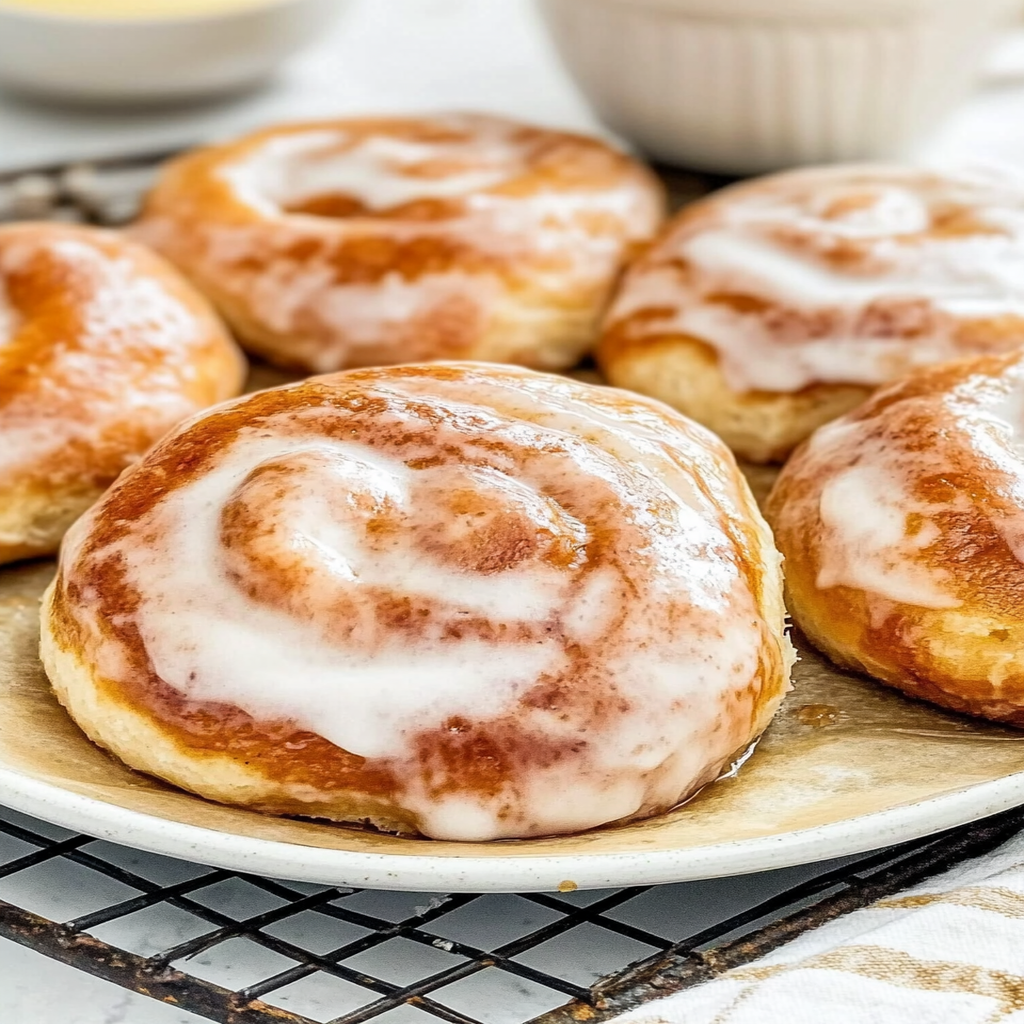
Homemade honey buns are a delightful treat that will fill your kitchen with a warm and inviting aroma. These fluffy and sweet rolls are perfect for breakfast or as a snack any time of the day. With just the right amount of honey sweetness and a soft texture, they make for an irresistible addition to your meal routine. Baking these treats at home allows you to control the ingredients, ensuring each bite is as wholesome as it is delicious. In this article, I’ll guide you through every step of creating these tasty homemade honey buns from scratch. You will learn about the essential ingredients needed and some helpful tips to enhance your baking experience. Whether you’re an experienced baker or just starting out in the kitchen, this recipe promises satisfying results that everyone will love. Let’s dive into why you’ll adore making these homemade honey buns!
Why You’ll Love This Homemade Honey Buns
- Quick and Easy: Minimal prep time and straightforward steps make this recipe stress-free, even for novice cooks
- Flavorful and Versatile: Enjoy outstanding flavor with ingredients you can easily customize by adding your favorites or adjusting spices
- Perfect for Any Occasion: Ideal for casual gatherings, holiday celebrations, or weeknight dinners
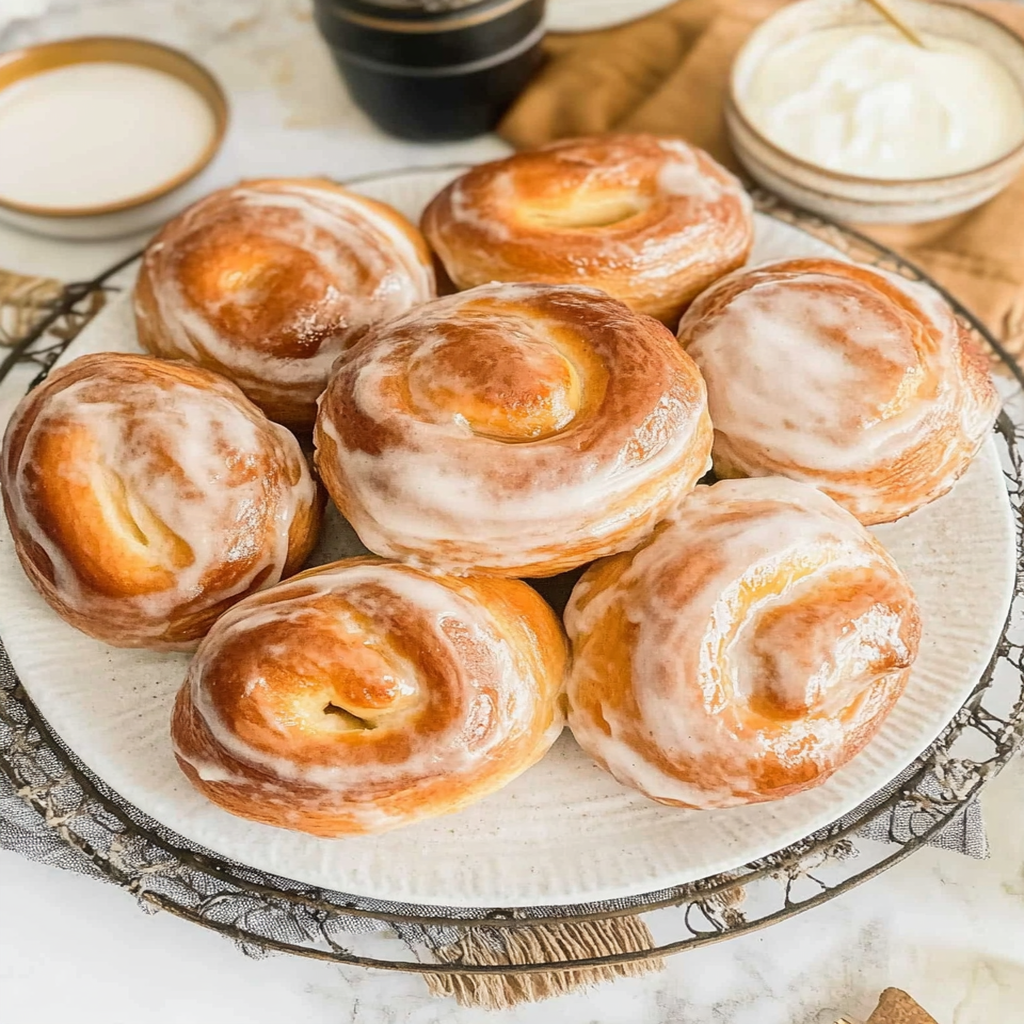
Ingredients for Homemade Honey Buns
Here’s what you’ll need to make this delicious dish:
- : Use high-quality all-purpose flour for the best texture; it provides structure to your honey buns
- Active dry yeast: Ensure your yeast is fresh to achieve a good rise; it’s crucial for light and fluffy buns
- Milk: Whole milk gives a rich flavor; warm it slightly before using to activate the yeast effectively
- Honey: The star ingredient; choose raw honey if possible for its unique flavor and health benefits
- Butter: Unsalted butter adds richness; melt it before mixing into the dough for better incorporation
- Eggs: Large eggs help bind the ingredients together and add moisture to the dough
- Salt: A small amount enhances flavor; do not skip it as it balances the sweetness from the honey
The full ingredients list, including measurements, is provided in the recipe card directly below.
How to Make Homemade Honey Buns
Follow these simple steps to prepare this delicious dish:
Step 1: Prepare Your Dough
In a large mixing bowl, combine warm milk with active dry yeast. Allow it to sit for about five minutes until it becomes frothy. This step ensures that your yeast activates properly.
Step 2: Mix Ingredients
Add melted butter, honey, eggs, and salt into the yeast mixture. Whisk well until everything is fully combined.
Step 3: Forming the Dough
Gradually add in all-purpose flour while stirring with a wooden spoon until a rough dough forms. Transfer it onto a floured surface.
Step 4: Knead the Dough
Knead the dough for about eight minutes until it’s smooth and elastic. This process develops gluten which gives your buns their delightful texture.
Step 5: Let It Rise
Place the kneaded dough in an oiled bowl, cover with a damp cloth or plastic wrap, and let it rise in a warm place for one hour or until doubled in size.
Step 6: Shape Your Buns
After rising, punch down the dough gently and divide it into equal pieces. Shape each piece into a round bun and place them on a greased baking tray.
Let them rise again for about thirty minutes before baking at preheated oven at 375°F (190°C) for around twenty minutes until golden brown.
Transfer to plates and drizzle with more honey if desired for that extra touch of sweetness.
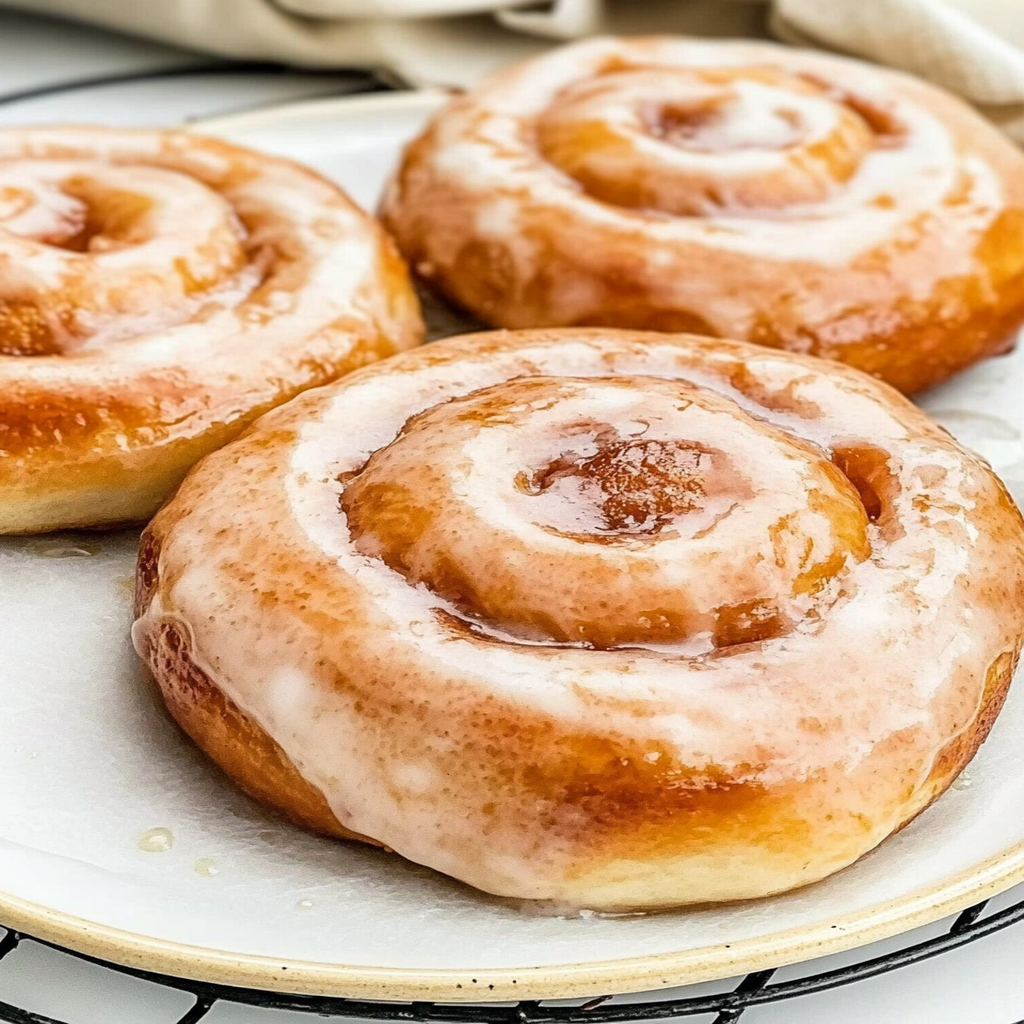
Tips and Tricks
Here are some helpful tips to ensure the best results for your dish:
- Kneading Technique: Use both hands when kneading to develop gluten evenly throughout your dough
- Rising Environment: Create an ideal rising environment by placing dough near a warm oven or heating pad
- Baking Time Check: Keep an eye on your buns towards the end of baking; every oven varies so check doneness early
How to Serve Homemade Honey Buns
This Homemade Honey Buns is versatile and pairs wonderfully with:
- Rice or Potatoes: A hearty base that soaks up the delicious sauce.
- Fresh Salad: Adds a crisp and refreshing contrast to the rich flavors of the dish.
- Crusty Bread: Perfect for enjoying every last drop of the flavorful sauce.
Feel free to pair it with your favorite sides for a personalized meal!
Make Ahead and Storage
- Make Ahead: You can prepare the dough for your Homemade Honey Buns up to a day in advance. Simply mix, knead, and shape the dough, then cover it tightly and refrigerate. Bring it back to room temperature before baking, which should take about 30 minutes.
- Storing: Leftover Homemade Honey Buns can be stored in an airtight container at room temperature for up to three days. If you want them to last longer, freeze them in a freezer-safe bag for up to two months. Make sure they are completely cooled before freezing.
- Reheating: To reheat your Homemade Honey Buns, preheat your oven to 350°F (175°C). Place the buns on a baking sheet and cover them with foil to prevent drying out. Heat for about 10-15 minutes until warmed through. Alternatively, you can microwave them for about 20-30 seconds if you’re in a hurry.
Suggestions for Homemade Honey Buns
Choose the Right Flour
When making homemade honey buns, flour selection plays a crucial role. Opt for all-purpose flour for a light and fluffy texture. Bread flour can lead to denser buns due to its higher protein content. If you prefer whole wheat, consider mixing it with all-purpose flour to maintain a soft consistency while adding nutritional value. Remember, the type of flour influences the rise and overall taste of your buns, so choose wisely.
Don’t Rush the Dough Rising
One common mistake when making homemade honey buns is rushing the dough rising process. Allow the dough ample time to double in size; this usually takes about 1-2 hours depending on your kitchen’s temperature. When you don’t let it rise enough, the buns become dense and chewy rather than fluffy. To create optimal rising conditions, place the dough in a warm, draft-free area. Patience is key for achieving that perfect honey bun texture.
Monitor Oven Temperature
Many bakers overlook oven temperature when baking homemade honey buns. An oven that is too hot can cause the outer layer to brown too quickly while leaving the inside undercooked. Use an oven thermometer to ensure accurate readings and preheat your oven adequately before placing your buns inside. Baking at 350°F usually yields great results for these sweet treats, but every oven is different, so keep an eye on your buns as they bake.
Use Fresh Ingredients
Using fresh ingredients is vital for making delicious homemade honey buns. Outdated yeast can result in poor rising and dense texture, while stale spices will affect flavor. Always check expiration dates on your yeast and other perishable items like milk or butter before starting your recipe. Fresh ingredients ensure that your honey buns rise properly and taste delightful with every bite.
FAQs
What makes homemade honey buns different from store-bought?
Homemade honey buns stand out due to their fresh ingredients and customizable flavors. You have control over what goes into them, allowing you to avoid preservatives often found in commercial products. Additionally, making them at home means you can adjust sweetness levels or add unique fillings like fruits or nuts, enhancing taste and texture. This personalization ensures that each batch of homemade honey buns is uniquely tailored to your preference.
How can I store leftover homemade honey buns?
To store leftover homemade honey buns effectively, allow them to cool completely before wrapping them tightly in plastic wrap or placing them in an airtight container. This prevents moisture loss and keeps them soft for longer periods. For extended storage, consider freezing them; just make sure to wrap each bun individually before placing them in a freezer-safe bag. When ready to eat, thaw at room temperature or warm them briefly in the microwave for that fresh-baked taste.
Can I make homemade honey buns ahead of time?
Yes, you can prepare homemade honey buns ahead of time! After shaping the dough into buns, place them in a greased baking dish and cover with plastic wrap. Refrigerate overnight for up to 12 hours before baking them the next day; this slow rise enhances flavor and texture significantly. Alternatively, you can freeze shaped but unbaked rolls; just thaw in the fridge overnight before baking as directed for fresh-tasting treats any day of the week.
What toppings go well with homemade honey buns?
Homemade honey buns pair beautifully with various toppings! A simple glaze made from powdered sugar and milk adds sweetness without overpowering their flavor. You could also try cream cheese frosting for a richer option or sprinkle cinnamon sugar on top before baking for added warmth and aroma. For a fruitier twist, consider adding chopped nuts or dried fruit into the dough itself or as toppings after baking; this enhances both taste and texture.
Conclusion for Homemade Honey Buns
Creating delectable homemade honey buns requires attention to detail and some essential techniques that elevate their flavor and texture. Choosing the right flour ensures fluffy results while allowing adequate rising time leads to lightness rather than density. Monitoring oven temperatures prevents uneven baking, and using fresh ingredients guarantees scrumptious outcomes every time.
Storing leftovers properly maintains their quality over days if needed while experimenting with various toppings allows endless customization options! With these suggestions in mind alongside patience during preparation steps like kneading and rising doughs—your journey towards perfecting homemade honey buns becomes an exciting adventure filled with delicious rewards!
Homemade Honey Buns
Homemade honey buns are a delightful treat that combines soft, fluffy texture with the natural sweetness of honey, making them perfect for breakfast, snacks, or dessert. This easy recipe allows you to create these irresistible buns right in your kitchen, filling your home with a warm, inviting aroma. With minimal effort and simple ingredients, you can customize flavors to suit your taste. Enjoy them fresh out of the oven or topped with a drizzle of honey or glaze for an extra touch. Whether you’re a seasoned baker or just starting out, this recipe guarantees delicious results that will impress family and friends alike.
- Prep Time: 30 minutes
- Cook Time: 20 minutes
- Total Time: 50 minutes
- Yield: Approximately 12 servings 1x
- Category: Dessert
- Method: Baking
- Cuisine: American
Ingredients
- 4 cups all-purpose flour
- 2 teaspoons active dry yeast
- 1 cup whole milk
- 1/2 cup raw honey
- 1/4 cup unsalted butter
- 2 large eggs
- 1 teaspoon salt
Instructions
- In a large bowl, combine warm milk and yeast; let sit for 5 minutes until frothy.
- Mix in melted butter, honey, eggs, and salt until well combined.
- Gradually add flour while mixing with a wooden spoon until a rough dough forms.
- Transfer to a floured surface and knead for about 8 minutes until smooth.
- Place dough in an oiled bowl; cover and let rise for 1 hour or until doubled.
- Punch down the dough, divide into equal pieces, shape into buns, and place on greased baking tray.
- Let rise again for 30 minutes; bake in preheated oven at 375°F (190°C) for about 20 minutes until golden brown.
Nutrition
- Serving Size: 1 serving
- Calories: 220
- Sugar: 8g
- Sodium: 150mg
- Fat: 6g
- Saturated Fat: 3g
- Unsaturated Fat: 2g
- Trans Fat: 0g
- Carbohydrates: 36g
- Fiber: 1g
- Protein: 5g
- Cholesterol: 40mg

