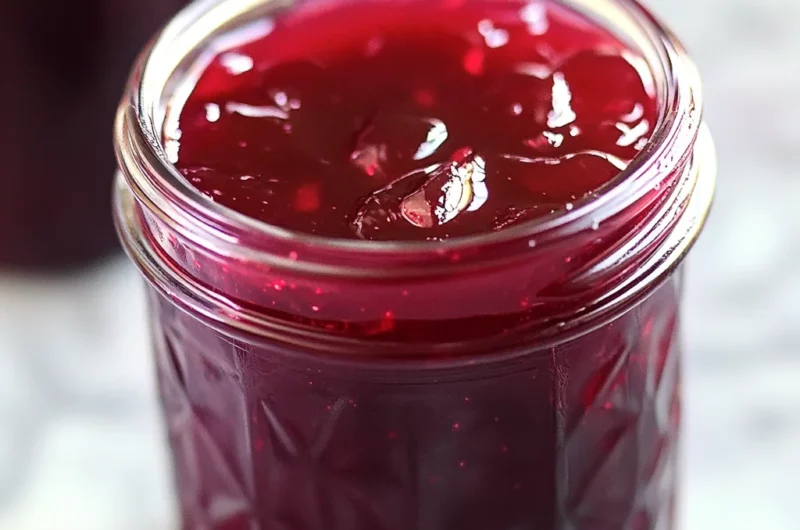
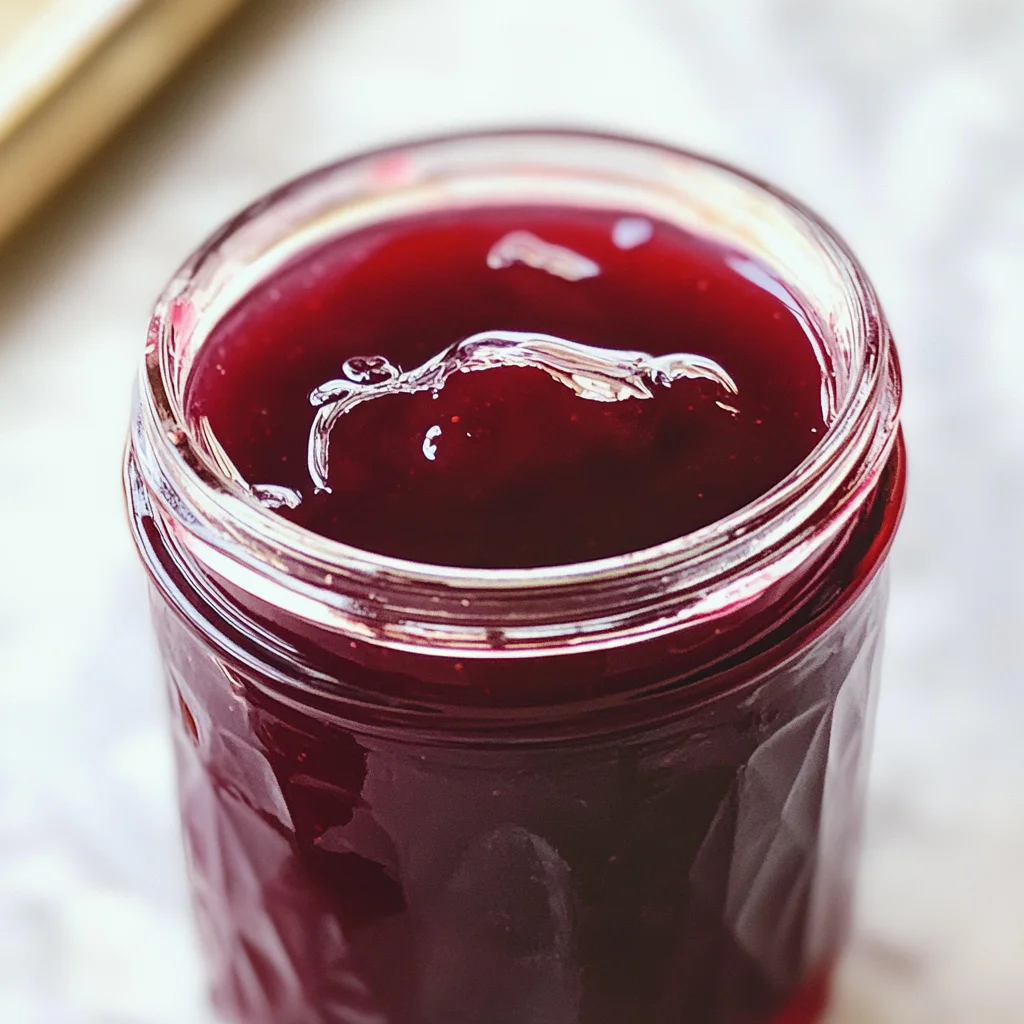
Learn how to make homemade plum jelly that bursts with flavor and is perfect for spreading on toast, topping desserts, or gifting to friends. This recipe highlights the natural sweetness of ripe plums and allows for customization with honey or other sweeteners. Whether you’re hosting a brunch, looking for a simple treat, or wanting to preserve summer’s bounty, this jelly is an excellent choice.
Why You’ll Love This Recipe
- Easy to Make: With just a few simple ingredients and straightforward steps, you can create delicious jelly in no time.
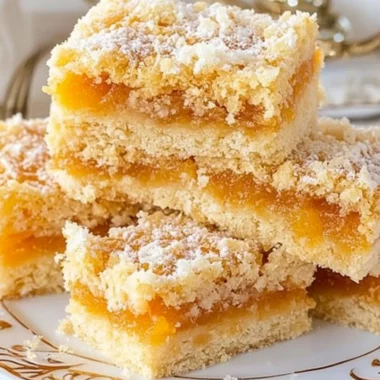
- Versatile Uses: Enjoy it on breakfast items like toast and pancakes, or use it as a filling for pastries and desserts.
- Customizable Sweetness: Adjust the sugar content based on your taste preferences, making it suitable for various diets.
- Gifts from the Heart: Homemade plum jelly makes for beautiful and thoughtful gifts that everyone will appreciate.
- Preservative-Free: By making your own jelly, you control the ingredients and avoid artificial additives.
Tools and Preparation
To make homemade plum jelly successfully, having the right tools is essential. Below are the necessary equipment pieces you’ll need.
Essential Tools and Equipment
- Large stockpot
- Colander
- Fine mesh strainer (or cheesecloth)
- Metal spoon
- Clean jars for storage
Importance of Each Tool
- Large stockpot: Essential for boiling the plums and mixing the ingredients without spilling over.
- Colander: Helps in straining out pulp from the juice effectively.
- Fine mesh strainer: Provides an extra layer of filtration to ensure a smooth jelly texture.
Ingredients
Learn how to make delicious homemade plum jelly with just a few simple ingredients! Includes easy tips for using honey, sweeteners, or less sugar—plus answers to all your jelly-making questions.
For the Jelly
- 5 pounds ripe plums
- 1-1/2 cups water
- 1 (1.75 ounce) box fruit pectin
- 1 tablespoon unsalted butter
- 6-1/2 cups granulated sugar
How to Make Homemade Plum Jelly
Step 1: Prepare the Plums
- Slice the plums in half and remove and discard the pits. Don’t bother peeling the plums.
- Place the plums in a large stockpot. Add the water.
Step 2: Cook the Plums
- Bring the pot to a boil.
- Cover and simmer over medium heat for about 10 minutes.
Step 3: Strain the Juice
- Strain the juice by pouring it first through a colander.
- Then pour it through a fine mesh strainer or line a colander with several layers of cheesecloth.
- Allow the fruit to drain for at least 30 minutes before discarding it.
Step 4: Combine Ingredients
- You should have about 5 ½ cups of plum juice. Pour this juice back into the pot.
- Add one box of pectin and the butter.
Step 5: Boil Mixture
- Bring the juice mixture to a hard rolling boil.
- Add all of the sugar at once.
Step 6: Final Boil & Skim Foam
- Continue to boil for exactly one minute.
- Remove from heat and skim any foam from the top using a metal spoon.
Step 7: Jar Your Jelly
- Ladle the hot jelly into clean jars while still warm.
- Store in the refrigerator where it can last up to six months.
With these steps, you’ll have delicious homemade plum jelly ready to enjoy!
How to Serve Homemade Plum Jelly
Homemade plum jelly is a delightful treat that can elevate many dishes. Here are some creative ways to enjoy your delicious jelly.
On Toast and Bread
- Spread on Toast: A classic choice, spread homemade plum jelly on warm toast for a sweet breakfast.
- Layer in Sandwiches: Use it in peanut butter and jelly sandwiches for a fruity twist.
With Cheese
- Cheese Board Addition: Pair your homemade plum jelly with a variety of cheeses for a sophisticated appetizer.
- Cream Cheese Dip: Mix with cream cheese for a simple and tasty dip served with crackers.
In Desserts
- Pancake Topping: Drizzle over pancakes or waffles for a fruity breakfast treat.
- Ice Cream Sauce: Warm the jelly slightly and pour over vanilla ice cream for an easy dessert.
As a Glaze
- Meat Glaze: Brush over grilled meats like chicken or pork for added flavor.
- Vegetable Glaze: Toss roasted vegetables in plum jelly for a sweet finish.
In Beverages
- Jelly in Cocktails: Stir into sparkling water or cocktails for a unique flavor twist.
- Fruit Smoothies: Blend into smoothies for added sweetness without refined sugar.
How to Perfect Homemade Plum Jelly
Making the perfect homemade plum jelly takes care and attention. Here are some tips to ensure your jelly turns out just right.
- Use Ripe Plums: Choose plums that are fully ripe to maximize flavor and sweetness.
- Strain Thoroughly: Ensure you strain the juice well to remove any pulp, which helps achieve a clear jelly.
- Measure Ingredients Accurately: Use precise measurements of sugar and pectin for consistent results.
- Watch the Boil Time: Boil the mixture only as long as necessary; overcooking can affect the texture.
- Skim Foam Carefully: Skimming off foam prevents cloudiness in your final product, giving it an appealing appearance.
Best Side Dishes for Homemade Plum Jelly
Homemade plum jelly pairs wonderfully with various side dishes. Here are some excellent options to consider when serving this sweet treat.
- Grilled Cheese Sandwiches: The savory crunch of grilled cheese complements the sweetness of plum jelly perfectly.
- Roasted Brussels Sprouts: Add a dollop of homemade plum jelly to roasted Brussels sprouts for a sweet-salty contrast.
- Savory Biscuits: Flaky biscuits served warm are ideal companions to spread with plum jelly.
- Stuffed Peppers: The sweetness of the jelly enhances the flavors in stuffed bell peppers, making them irresistible.
- Potato Wedges: Crispy potato wedges drizzled with homemade plum jelly offer a unique twist on dipping sauces.
- Quinoa Salad: A quinoa salad tossed with a bit of plum jelly dressing adds an unexpected flavor dimension.
Common Mistakes to Avoid
Making Homemade Plum Jelly can be a rewarding experience, but it’s essential to avoid common pitfalls.
- Skipping the pectin: Not using fruit pectin can lead to jelly that doesn’t set. Always include it for the right consistency.
- Ignoring fruit quality: Using overripe or damaged plums can affect flavor. Choose fresh, ripe plums for the best results.
- Neglecting measurements: Improperly measuring sugar or juice can ruin your jelly. Always use precise measurements for perfect results.
- Rushing the boiling process: A hard boil is crucial for setting the jelly. Don’t rush; let it reach a steady boil as instructed.
- Not sterilizing jars: Using unclean jars can lead to spoilage. Make sure to sterilize your jars before filling them with jelly.
Refrigerator Storage
- Store your homemade plum jelly in clean, airtight jars.
- It will last up to six months in the refrigerator.
Freezing Homemade Plum Jelly
- For longer storage, freeze the jelly in freezer-safe containers.
- Homemade plum jelly can be frozen for up to one year.
Reheating Homemade Plum Jelly
- Oven: Preheat to 350°F and place jelly in an oven-safe dish until warm, about 10 minutes.
- Microwave: Heat in a microwave-safe container on medium power for 20-30 seconds, stirring occasionally.
- Stovetop: Gently warm on low heat in a saucepan, stirring frequently until desired temperature is reached.
Frequently Asked Questions
How do I make homemade plum jelly without sugar?
You can substitute sugar with honey or other sweeteners. Adjust quantities based on sweetness preference.
What are tips for making homemade plum jelly?
Ensure you have ripe plums and follow the instructions closely for best results. Use a thermometer to check temperatures if needed.
Can I use frozen plums for homemade plum jelly?
Yes, frozen plums work well. Just thaw and drain excess water before using them in your recipe.
How do I know when my homemade plum jelly is set?
Perform the spoon test; dip a spoon into the jelly and let it cool slightly. If it holds its shape and wrinkles when pushed with your finger, it’s ready!
Final Thoughts
This Homemade Plum Jelly recipe is not only delicious but also versatile. You can customize flavors by adding spices or mixing with other fruits. It’s perfect for spreading on toast or using in desserts. Give it a try, and enjoy this delightful treat!
Homemade Plum Jelly
Make your own delicious homemade plum jelly that captures the essence of ripe, juicy plums. This easy recipe combines fresh plums with just a few simple ingredients to create a vibrant spread perfect for toast, desserts, or as heartfelt gifts. Customize the sweetness with honey or your preferred sweetener for a personal touch. Ideal for preserving summer’s bounty, this jelly is free from artificial additives and bursting with flavor.
- Prep Time: 20 minutes
- Cook Time: 30 minutes
- Total Time: 50 minutes
- Yield: Approximately 32 servings 1x
- Category: Dessert
- Method: Canning
- Cuisine: American
Ingredients
- 5 pounds ripe plums
- 1–1/2 cups water
- 1 (1.75 ounce) box fruit pectin
- 1 tablespoon unsalted butter
- 6–1/2 cups granulated sugar
Instructions
- Prepare the Plums: Halve the plums, remove the pits, and place them in a large stockpot with the water.
- Cook the Plums: Bring to a boil, cover, and simmer for about 10 minutes.
- Strain the Juice: Pour through a colander, then through a fine mesh strainer or cheesecloth. Let it drain for at least 30 minutes.
- Combine Ingredients: Return about 5½ cups of juice to the pot; add pectin and butter.
- Boil Mixture: Bring to a hard boil and add all sugar at once.
- Final Boil & Skim Foam: Boil for one minute, then remove from heat and skim off foam.
- Jar Your Jelly: Ladle into clean jars while warm; store in the refrigerator for up to six months.
Nutrition
- Serving Size: 1 tablespoon (20g)
- Calories: 52
- Sugar: 12g
- Sodium: 0mg
- Fat: 0g
- Saturated Fat: 0g
- Unsaturated Fat: 0g
- Trans Fat: 0g
- Carbohydrates: 13g
- Fiber: 0g
- Protein: 0g
- Cholesterol: 0mg

