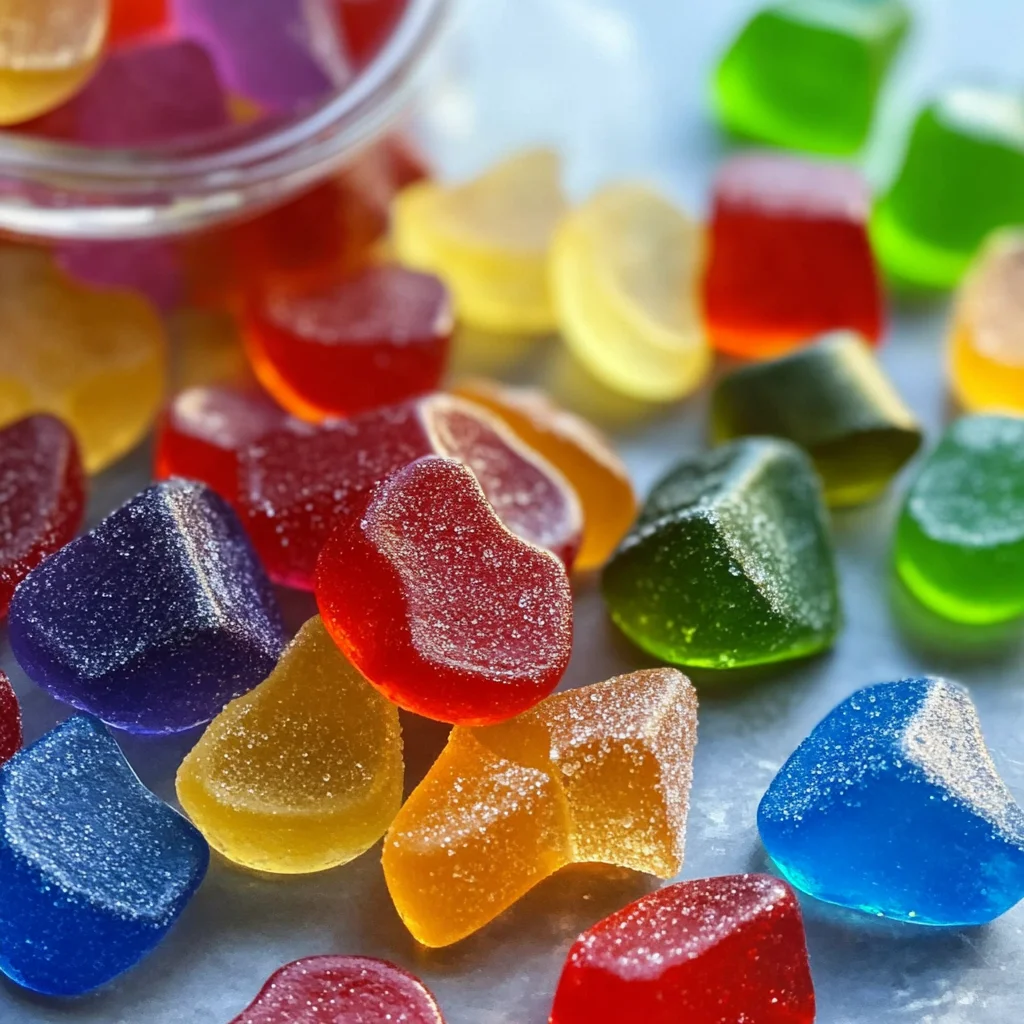
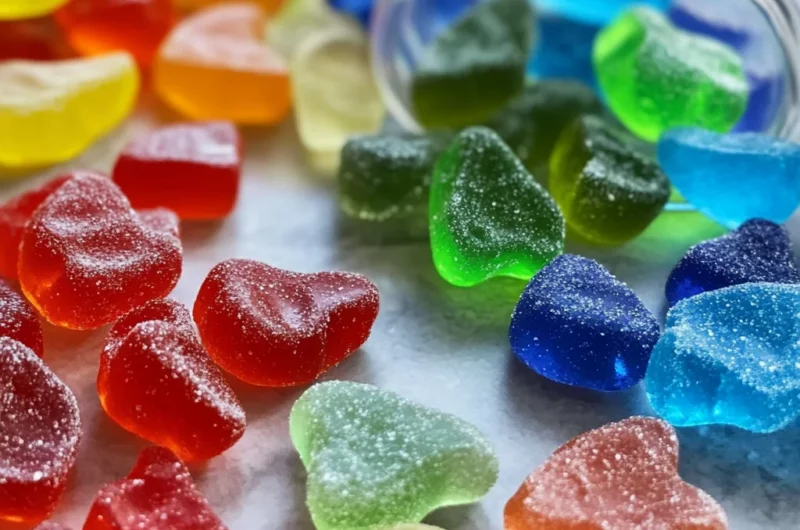
A gummy recipe that is simple and delightful awaits you! This recipe is perfect for parties, movie nights, or just a sweet treat to enjoy at home. With easy-to-find ingredients and a straightforward method, you’ll create gummy candies that are bursting with flavor. The best part? You can customize them to suit any occasion, making them a crowd favorite!
Why You’ll Love This Recipe
- Easy to Make: This gummy recipe requires minimal effort and only takes about 15 minutes from start to finish.
- Customizable Flavors: You can use your favorite juice or flavored liquid, allowing you to make unique gummies every time.
- Vegan-Friendly: Made with unflavored powdered vegan gelatin, these gummies are suitable for those following a plant-based diet.
- Perfect for Any Occasion: Whether it’s a birthday party or a cozy night in, these gummies fit right in.
- Fun Project: Making gummies can be a fun activity to do with friends or kids, creating delicious memories.
Tools and Preparation
To make this gummy recipe successfully, you’ll need some essential tools. Having the right equipment makes the process smoother and more enjoyable.
Essential Tools and Equipment
- Saucepan
- Whisk
- Measuring cups
- Silicone gummy molds
- Spoon
Importance of Each Tool
- Saucepan: A good-quality saucepan ensures even heating of your ingredients for perfectly melted gelatin.
- Silicone Gummy Molds: These molds allow easy release of the gummies and come in various shapes for added fun.
Ingredients
A REAL gummy recipe that uses easy-to-find ingredients, is easy to make, and tastes just like the real thing!
For the Gummies
- 1.75 oz granulated sugar
- 3 packages unflavored powdered Vegan Gelatin (21 grams)
- 1/4 tsp citric acid
- 3 oz corn syrup
- 2.5 oz flavored liquid of choice like juice (or water if you want unflavored)
- 1-2 drops candy flavoring (for a more intense flavor)
How to Make Gummy Recipe
Step 1: Prepare Your Molds
Start by placing your silicone gummy molds on a flat surface. This will ensure they are ready for pouring the mixture later.
Step 2: Combine Dry Ingredients
In your saucepan, mix together the granulated sugar, unflavored powdered vegan gelatin, and citric acid. Stir well until combined.
Step 3: Add Liquid Ingredients
Pour in the corn syrup and flavored liquid of your choice into the dry mixture. Use a whisk to blend everything together until smooth.
Step 4: Heat Mixture
Place the saucepan over low heat. Continuously stir the mixture until it becomes clear and all ingredients are fully dissolved; this should take about 5 minutes.
Step 5: Flavor It Up
If desired, add 1-2 drops of candy flavoring to intensify the taste. Mix thoroughly to incorporate all flavors evenly.
Step 6: Pour Into Molds
Carefully pour the warm mixture into your prepared silicone molds. Fill each mold evenly without overflowing.
Step 7: Chill and Set
Refrigerate the molds for at least 2 hours or until the gummies have fully set. Once firm, gently pop them out of the molds.
Enjoy your homemade gummy treats!
How to Serve Gummy Recipe
Serving your homemade gummy recipe can be a fun and creative experience. Here are some delightful ways to enjoy these chewy treats.
For Parties
- Gummy Dessert Table: Arrange an eye-catching dessert table with various flavors of gummies. This adds color and fun to any celebration.
- Candy Bags: Fill small bags with gummies as party favors for guests. Personalize them for birthdays or special events.
As Snacks
- Movie Night Treats: Serve gummies as a sweet snack during movie nights. They pair perfectly with popcorn!
- Lunchbox Additions: Include a few gummies in kids’ lunchboxes for a fun treat alongside their meals.
For Celebrations
- Birthday Cake Toppers: Use gummies to decorate birthday cakes or cupcakes, adding a playful touch.
- Holiday Treats: Incorporate themed gummies into holiday celebrations, such as Halloween or Christmas, for added festivity.

How to Perfect Gummy Recipe
To achieve the best results with your gummy recipe, consider the following tips.
- Choose Quality Ingredients: Using fresh juices and high-quality flavorings can enhance the taste significantly.
- Adjust Sweetness: Feel free to modify the sugar content based on your flavor preference. More juice might require less sugar.
- Experiment with Flavors: Try different juices or flavorings. Mixing flavors can create exciting combinations.
- Control Texture: For firmer gummies, allow them to set longer in the fridge. Adjust gelatin content for desired chewiness.
Best Side Dishes for Gummy Recipe
While gummies are delightful on their own, pairing them with certain side dishes can elevate your snacking experience. Here are some great options:
- Fruit Salad: A refreshing mix of seasonal fruits complements the sweetness of gummies nicely.
- Cheese Platter: Serve assorted cheeses alongside gummies for a unique sweet-and-savory combination.
- Popcorn Mix: Combine popcorn with nuts and candies for a crunchy contrast to your chewy gummies.
- Yogurt Parfait: Layer yogurt with granola and gummies for a fun dessert that’s also nutritious.
- Chocolate Dipped Pretzels: The salty crunch of pretzels pairs well with sweet gummy flavors.
- Nut Butter Cookies: Enjoy these cookies alongside your gummies for a deliciously indulgent treat.
Common Mistakes to Avoid
Making the perfect gummy recipe can be tricky. Here are some common mistakes to watch out for:
- Skipping the gelatin: Not using enough gelatin can lead to a gummy texture that doesn’t hold together well. Make sure to use the recommended amount for the best results.
- Not measuring ingredients accurately: Measuring incorrectly can change the texture and flavor of your gummies. Use a kitchen scale for precise amounts, especially for sugar and gelatin.
- Ignoring temperature control: Cooking your gummy mixture at too high a temperature can cause it to become too firm or lose flavor. Keep the heat low and monitor closely.
- Neglecting to grease molds: Failing to grease your molds properly can make it difficult to remove the gummies later. A light coating of cooking spray helps ensure easy release.
- Skipping the citric acid: Omitting citric acid can result in a less tangy flavor. This ingredient enhances taste, so don’t skip it if you want that authentic gummy experience.
Storage & Reheating Instructions
Refrigerator Storage
- Store gummies in an airtight container.
- They last up to 2 weeks in the fridge.
- Keep them away from moisture to prevent stickiness.
Freezing Gummy Recipe
- For longer storage, freeze gummies in a freezer-safe bag or container.
- They can be frozen for up to 3 months.
- Thaw at room temperature before enjoying.
Reheating Gummy Recipe
- Oven: Preheat to a low temperature (around 200°F) and place gummies on a baking sheet for a few minutes until slightly warm.
- Microwave: Heat on low power in short intervals (5-10 seconds) until pliable, but be careful not to melt them completely.
- Stovetop: Place gummies in a non-stick pan over low heat, stirring gently until they soften.
Frequently Asked Questions
Here are some frequently asked questions about this gummy recipe:
Can I use flavored gelatin instead?
Yes, you can substitute flavored gelatin for vegan gelatin if you prefer traditional gummy flavors.
How do I make my gummies firmer?
To achieve firmer gummies, increase the amount of gelatin used in your recipe.
What liquid works best for this gummy recipe?
Fruit juices are ideal for flavoring, but you can also use water or soda for different tastes.
Can I customize the shapes of my gummies?
Absolutely! Use any silicone mold that fits your desired shape and size for fun variations.
How do I prevent my gummies from sticking together?
Coat them lightly with cornstarch or powdered sugar after they set to keep them separate and less sticky.
Final Thoughts
This simple gummy recipe is not only delicious but also incredibly versatile! You can customize flavors and colors based on your preferences, making it perfect for any occasion. Try making these delightful treats today!
Homemade Gummy Recipe
Indulge in the joy of creating your very own homemade gummy candies with this delightful gummy recipe! Perfect for parties, movie nights, or as a sweet treat at home, these gummies are bursting with flavor and can be easily customized to suit any occasion. With just a few simple ingredients and straightforward steps, you’ll be able to whip up a batch of chewy, flavorful gummies that everyone will love. Whether you opt for fruity flavors or a unique twist, the fun lies in experimenting with your favorite juices and colors. Get ready to impress your friends and family with these colorful homemade delights!
- Prep Time: 10 minutes
- Cook Time: 5 minutes
- Total Time: 15 minutes
- Yield: Approximately 10 gummies 1x
- Category: Dessert
- Method: N/A
- Cuisine: N/A
Ingredients
- 1.75 oz granulated sugar
- 3 packages unflavored powdered vegan gelatin (21 grams)
- 1/4 tsp citric acid
- 3 oz corn syrup
- 2.5 oz flavored liquid (juice or water)
- 1–2 drops candy flavoring (optional)
Instructions
- Prepare silicone molds by placing them on a flat surface.
- In a saucepan, combine granulated sugar, vegan gelatin, and citric acid; stir until well mixed.
- Add corn syrup and flavored liquid to the dry mixture; whisk until smooth.
- Heat over low heat, stirring continuously until clear (about 5 minutes).
- Add candy flavoring if desired; mix thoroughly.
- Carefully pour the mixture into prepared molds.
- Refrigerate for at least 2 hours until set; gently pop out the gummies.
Nutrition
- Serving Size: 1 gummy (approximately 15g)
- Calories: 40
- Sugar: 9g
- Sodium: 0mg
- Fat: 0g
- Saturated Fat: 0g
- Unsaturated Fat: 0g
- Trans Fat: 0g
- Carbohydrates: 10g
- Fiber: 0g
- Protein: <1g
- Cholesterol: 0mg


